


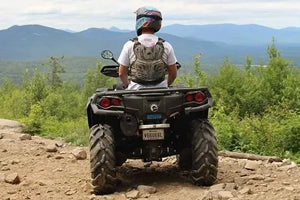


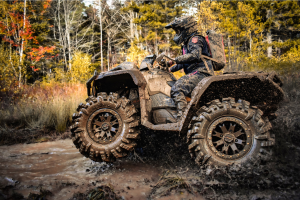


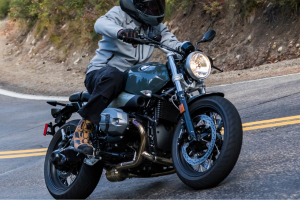


The thrill of the open road is what draws us to motorcycling, but a successful trip whether it’s a weekend blast through the twisties or a multi-day cross-country tour starts long before you thumb the starter button. A comprehensive motorcycle pre-ride checklist is the foundation of rider safety and mechanical reliability. Skipping a simple check can be the difference between a legendary ride and a frustrating afternoon waiting for a tow truck.
In this guide, we will break down the essential elements of preparation. We’ll cover the gear that keeps you safe and comfortable, the technical "T-CLOCS" inspection used by professionals, and the logistical planning required to ensure your itinerary is both ambitious and sustainable. By the end of this article, you will have a professional-grade framework to ensure that every time you swing a leg over the saddle, your only focus is the road ahead.
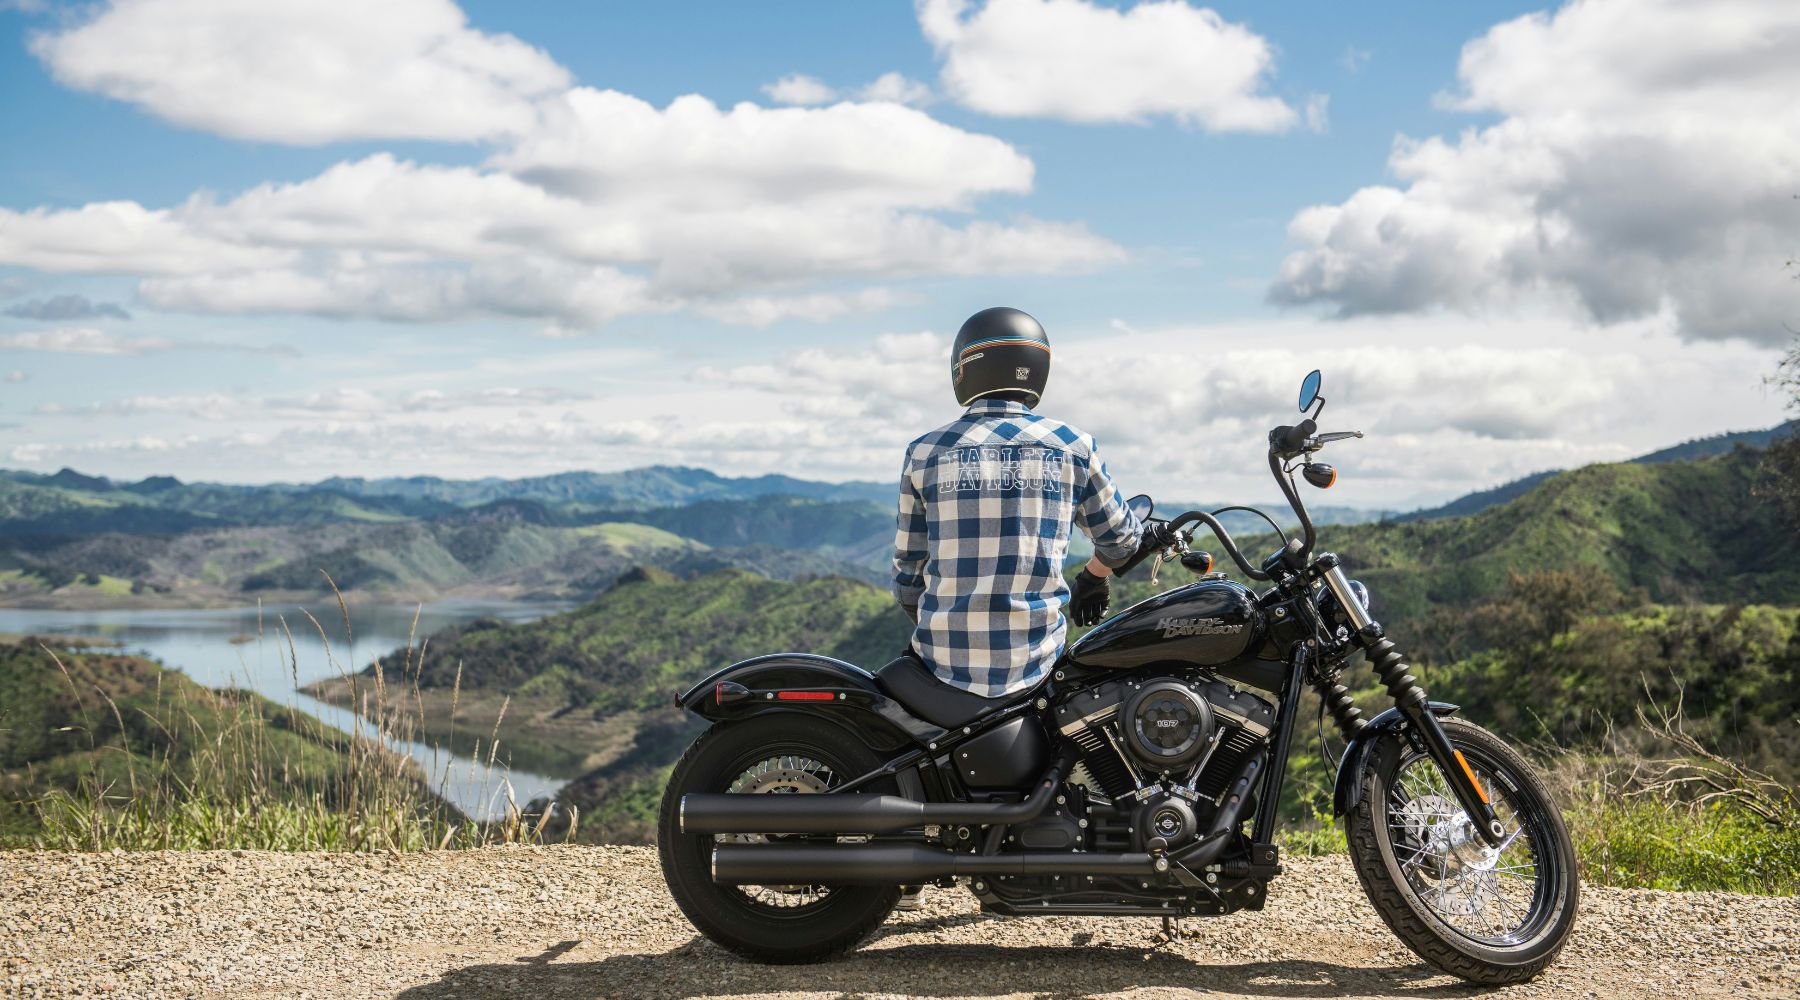
Gear for a Perfect Experience: The Essential Items
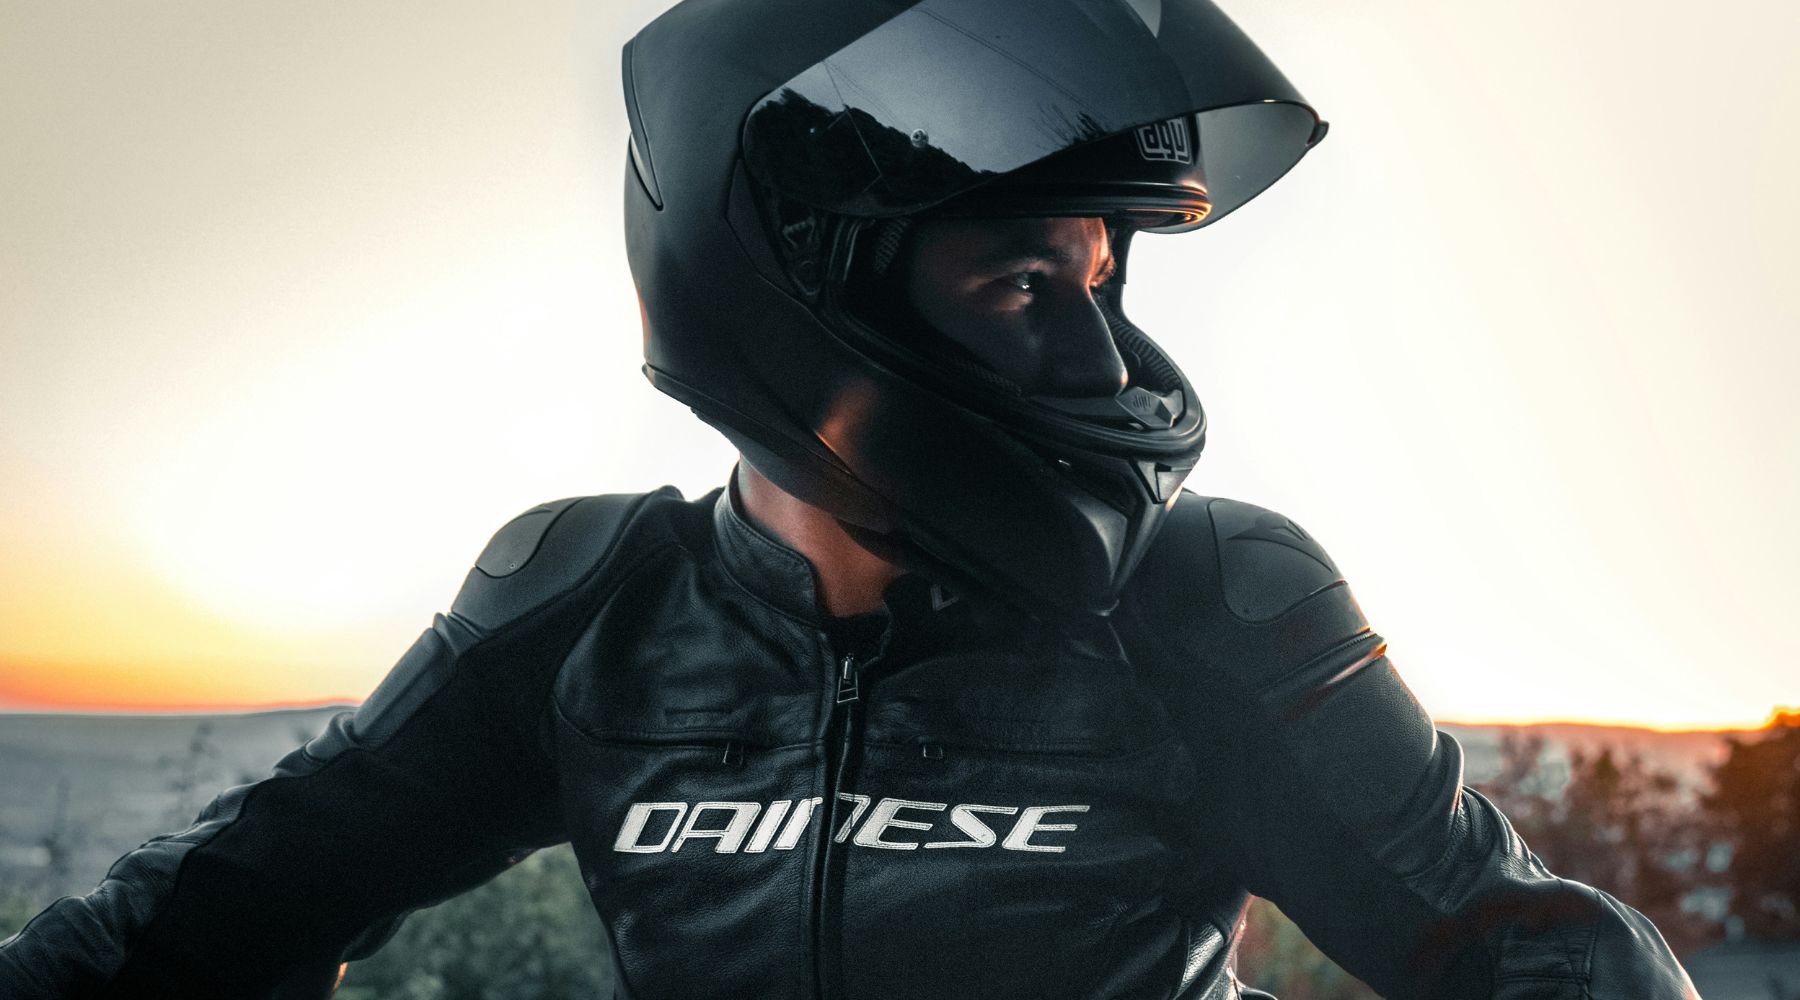
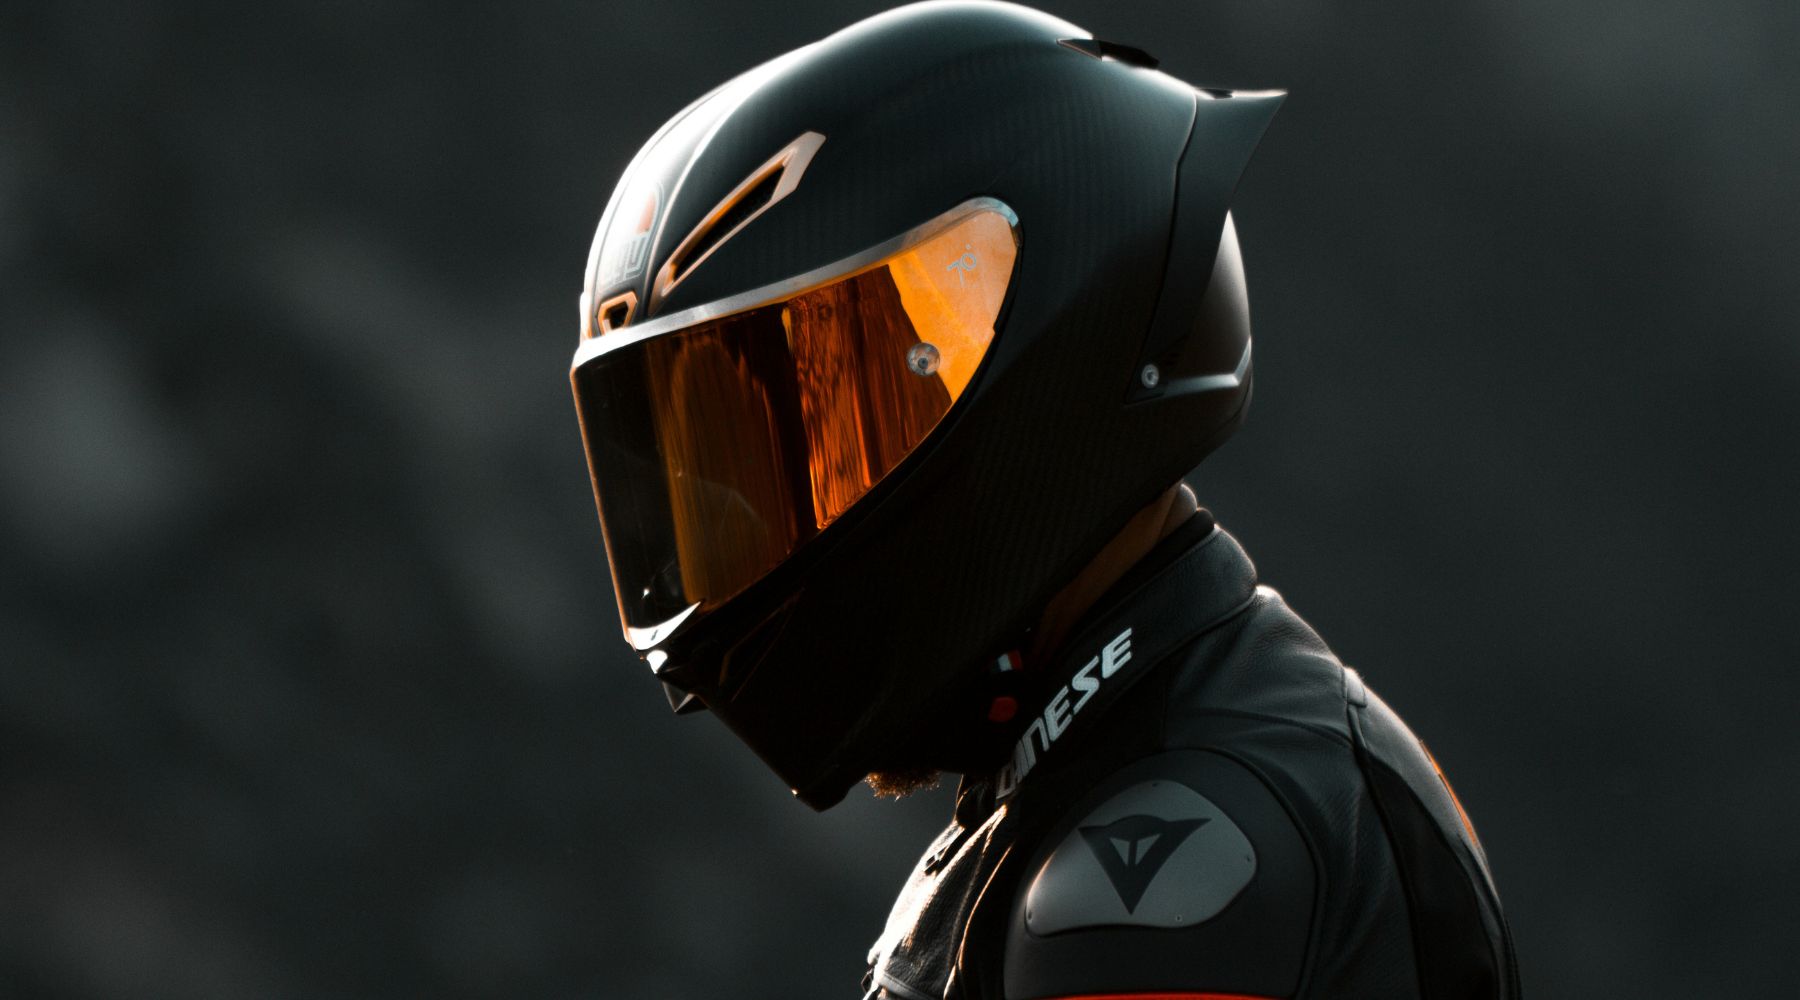
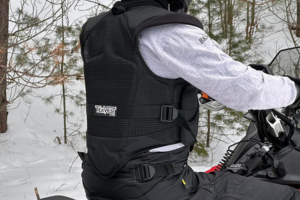
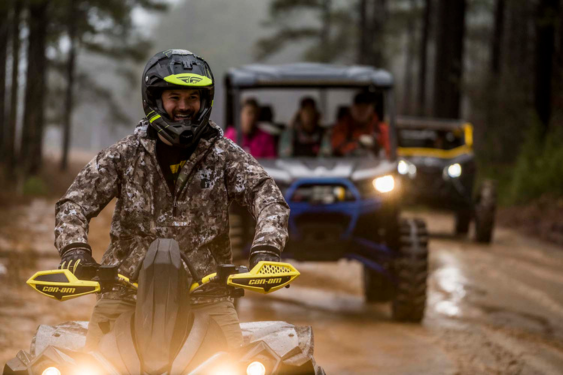
Your motorcycle gear is your primary interface with the machine and the environment. "All The Gear, All The Time" (ATGATT) isn't just a catchy acronym; it is a philosophy that ensures a perfect experience by minimizing fatigue and maximizing protection. You should always inspect your gear before each ride and make sure it’s appropriate for the conditions and type of ride you’re taking.
Helmets
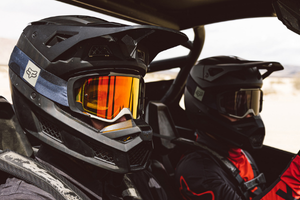
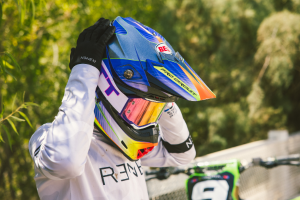
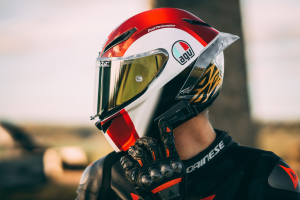
A high-quality, full-face helmet is non-negotiable. Look for ECE 22.06 or Snell certifications, which offer more rigorous testing than basic DOT standards. Ensure your helmet is within its expiry period, shows no signs of impact damage, has a chin strap in working order, and that the visor is clean and scratch-free
Gloves
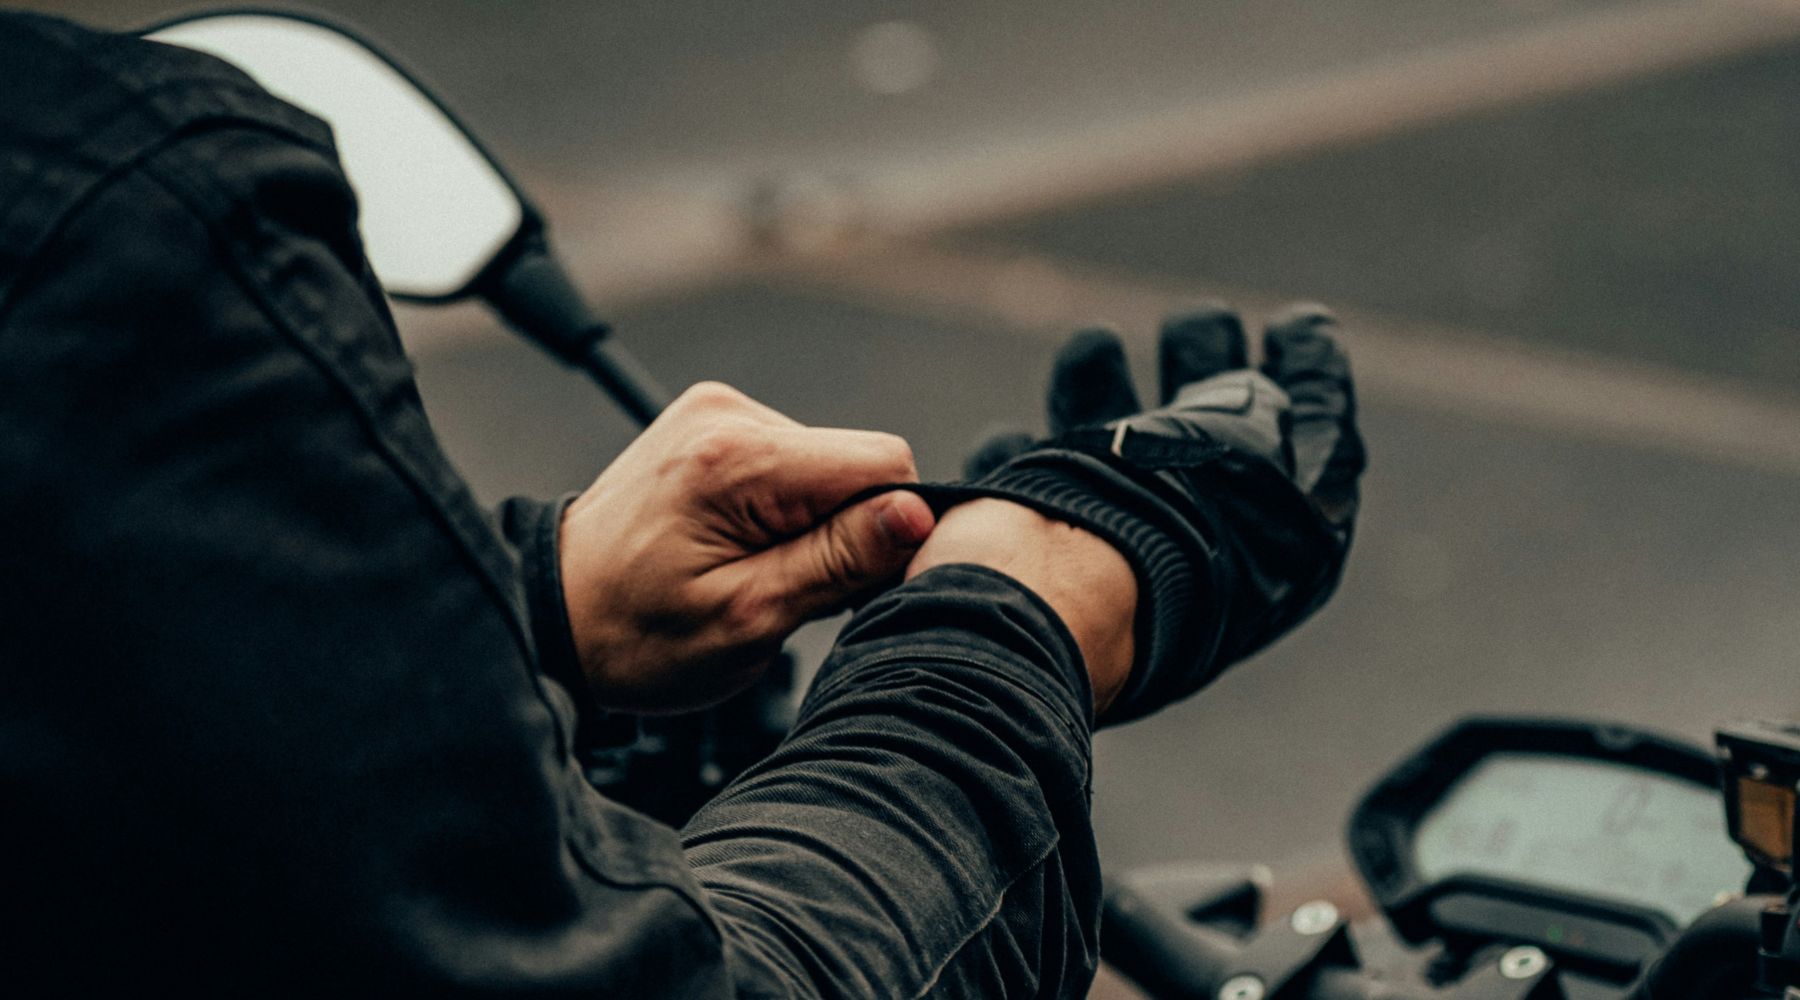
Your hands control everything. You need gloves that offer a balance of tactile feel and slide protection in the case of a crash. Leather remains the king of abrasion resistance, but textile offerings can incorporate mesh and other materials to achieve benefits like venting and airflow. Some models include additional safety features like a finger bridge, secure cuff around the wrist, or enhanced padding in the palm or knuckles. Other motorcycle gloves offer features that enhance rider comfort, such as touch screen compatibility or a water-proof membrane.
Jackets & Pants
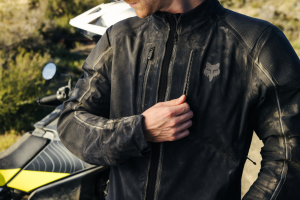
Motorcycle jackets and pants often include CE-rated armor in key impact areas such as the elbows, shoulders, and back. CE rating tells you the impact rating of garment, while the abrasion rating indicates how well the garment can withstand a slide. For touring riders, versatility is essential; look for gear with removable liners for cold or wet conditions, or that features large vents if you’re riding in a warmer climate.
Footwear
Riding footwear should provide solid ankle support, slip-resistant soles, and protection for your feet and ankles in the event of a crash. Choosing footwear that suits your type of riding is essential. Find the shoe or boot that offers your desired mix of protection, support, and comfort both on and off the bike.
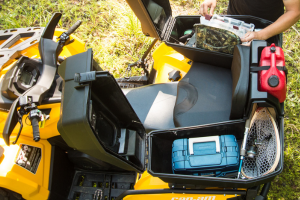
Bags and Luggage
How you carry your gear affects the bike’s handling.
Tank Bags:
Great for items you need quickly (wallet, phone, maps).
Saddlebags/Panniers:
Keep heavy items low and balanced on both sides of the bike to maintain a low center of gravity.
Tail Bags:
Perfect for lightweight items like extra layers.
Extra Layers & Rain Gear: Staying Warm and Dry
Weather can be unpredictable, and on a motorcycle, you are 100% exposed to the elements. Hypothermia or heat exhaustion can impair your decision-making long before you realize you're in trouble.
The Power of Base Layers
Avoid cotton at all costs; it holds moisture and pulls heat away from your body. Use synthetic or Merino wool base layers that wick sweat in the heat and provide insulation in the cold.
Dedicated Rain Gear
Even if your rain jacket claims to be waterproof, a dedicated one-piece or two-piece rain suit is a lifesaver during a heavy downpour. These suits are designed to fit over your armored gear and usually feature high-visibility colors to ensure other drivers see you through the mist.
Must-Have Heated Gear for Cold Weather
When temperatures drop, active heating is the most effective way to extend your riding season. To stay safe and mobile, focus on these three essentials:
Heated Jacket Liners:
These are more effective than vests because they provide heat to your arms, which are directly exposed to the wind. A liner fits under your existing armored jacket to keep your core warm without adding excessive bulk.
Heated Gloves or Liners:
Your hands are the first to feel the bite of cold weather. Heated gloves ensure your fingers remain flexible for precise throttle and brake control, preventing the numbness that often leads to delayed reaction times.
Heated Insoles or Socks:
Cold feet can be a major distraction. Since your boots are often static on the pegs, adding heated insoles helps maintain circulation and comfort throughout the day.
For long-distance tours:
12V wired gear is the best choice as it draws constant power from your motorcycle’s battery. For shorter commutes or urban riding, 7V battery-powered gear offers more freedom of movement and works even when you step off the bike.
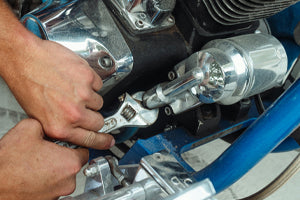
Use the T-CLOCS Inspection Checklist
Before every long trip, and at least once a week for commuters, you should perform the T-CLOCS inspection. This is the industry-standard method developed by the MSF (Motorcycle Safety Foundation).
T – Tires and Wheels
Pressure:
Check this when the tires are cold. Incorrect pressure affects braking, cornering, and fuel economy.
Condition:
Look for "flat-spotting" in the center of the tread or cracks in the sidewalls. Ensure there are no embedded nails or glass.
C – Controls
Check your levers and pedals. Ensure the throttle snaps back freely and that cables aren't frayed. If you have a hydraulic clutch or brakes, check the reservoir levels.
L – Lights and Signals
Walk around the bike. Test high and low beams, turn signals, and the brake light (test both the front lever and rear pedal separately). A burnt-out bulb makes you invisible to traffic.
O – Oil and Fluids
Check your engine oil level, coolant (if liquid-cooled), and brake fluid. Look under the bike for any fresh spots that might indicate a slow leak.
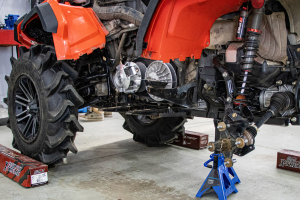
C – Chassis and Chain
Inspect the frame for cracks and the drive chain for proper tension and lubrication. A dry, rusty chain is a safety hazard and saps engine power.
S – Stands
Ensure your sidestand and centerstand retract fully and the springs are tight. A loose sidestand can deploy mid-corner with disastrous results.
Planning Your Itinerary: Route Planned
A great ride isn't just about the destination; it’s about the flow of the journey. To build a sustainable route that won't leave you exhausted by day three, follow these realistic milestones:
1. Define Daily Distance
Aim for an average of 320–480 km per day. While you can do 800+km days, you won't have time to stop for photos, local diners, or scenic overlooks.
2. Schedule Breaks
Fatigue is a silent enemy. Limit your total riding time to roughly 9 hours, which should include a 15-minute break every 90 minutes. Use these stops to hydrate, stretch your legs, and clear your head.
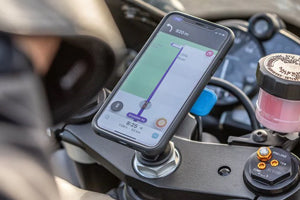
3. Use "Waypoints"
Don't just GPS from point A to B. Start by marking your non-negotiable stops, specific hotels, ferry crossings, or landmarks. Then, use a map to fill the gaps with "green-lined" scenic roads. These are often the highlight of the trip.
4. Include Rest Days
If your trip is longer than five days, plan for a full day off the bike roughly every three days. This allows your body to recover and gives you time to do laundry or perform basic bike maintenance like lubing the chain.
Key Considerations for Your Trip: Weather Check
Modern technology has made weather-watching much more precise. Don't rely on the basic weather app on your phone; use specialized tools to stay ahead of the front.
Live Radar Integration
Apps like MyRadar provide immediate, precise tracking. You can see exactly when a storm cell will hit your specific GPS coordinates. This allows you to decide whether to push through or grab a coffee and wait for the cell to pass.
Understanding Wind Chill
Motorcycling creates its own microclimate. At 100 km/h, an ambient temperature of 10°C can feel like 0°C or lower due to wind chill. Use apps that calculate motorcycle-specific wind chill, accounting for your speed and direction relative to the wind.
Alternative Routing
Always have a "Plan B." If a massive storm is sitting over your intended mountain pass, use tools like InRoute or Google Maps to see how shifting your departure time by two hours or moving your route 80km East, changes the weather outcome.
Preparation is the silent partner of adventure. By following this Motorcycle Pre-Ride Checklist, you ensure that your gear is ready, your machine is sound, and your itinerary is realistic. Motorcycling is about freedom, and nothing provides more freedom than the peace of mind that comes from being truly prepared for the road.
Safe riding, and we'll see you out there!